Hi folks! Today we’ll be showing you how to build cars for Gaslands. By the end of this article, you’ll be able to create your own fleet of Mad Max-style vehicles!
What is Gaslands?
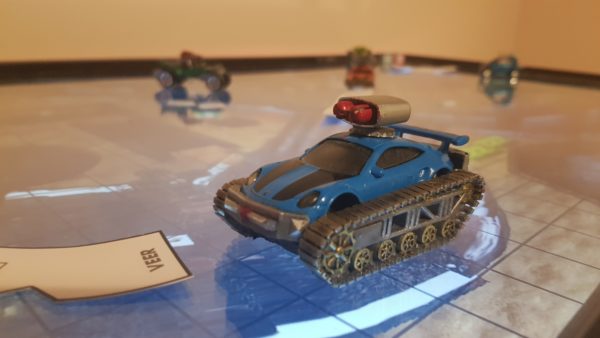
Gaslands is a fun Post-Apocalyptic tabletop wargame set in Australia.
It is played using modified Hot Wheels/Matchbox cars – it’s very reminiscent of Mad Max and Death Race.
It’s a lot of fun, and you don’t need much to start. You can even use the cars without modifying!
What you’ll need to play Gaslands
The rules:
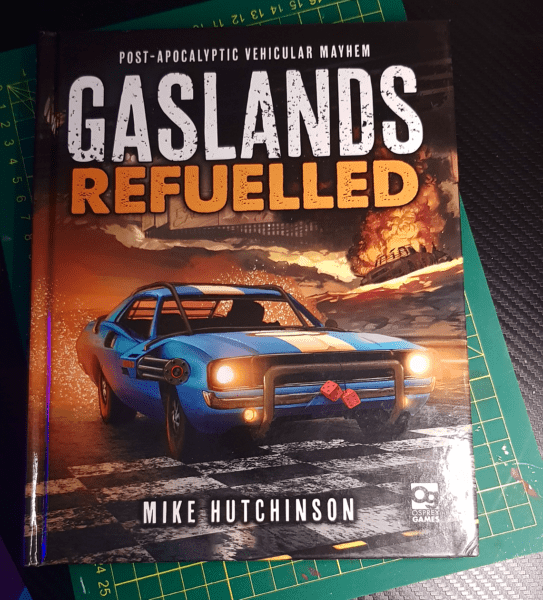
Gaslands Refuelled by Mike Hutchison/Osprey Games (Available here:https://planetsmashergames.com/gaslands/about/)
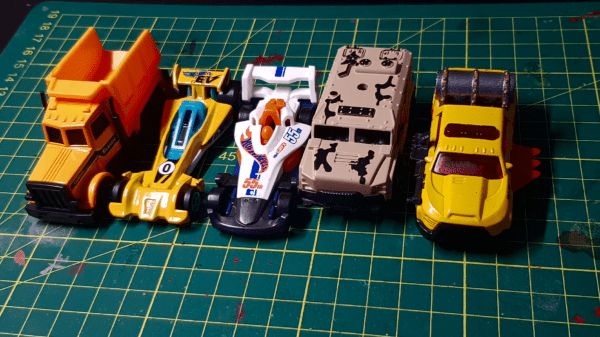
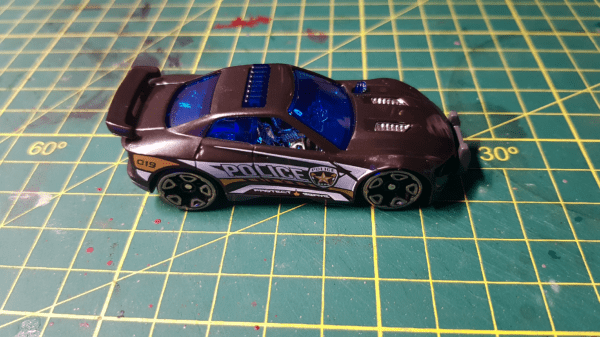
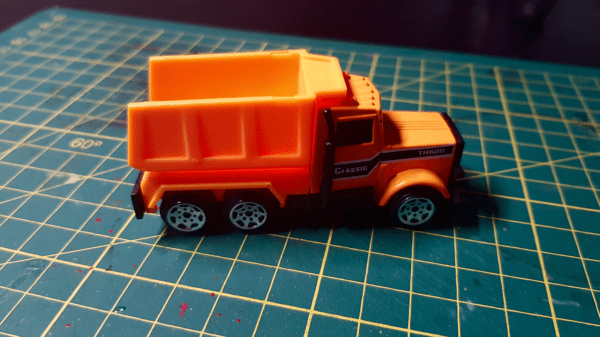
Some 1:64 scale toy cars:
We’d recommend the following brands:
- Hotwheels
- Matchbox
- Metal machines
- Street machines
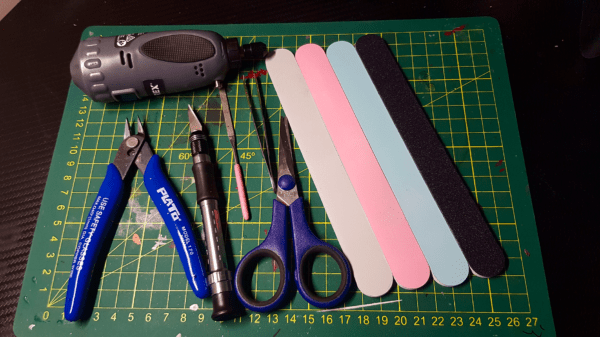
Craft supplies:
- Salvaged parts from toys and miniatures (like 40K, transformers, etc)
- Recyclable scrap – packing straps, plant pot labels, gift cards, yoghurt containers, skewers, model sprues, jewellery chain etc
- Superglue
- Paint: Miniature Paints are fine, Spraypaint is optional!
- Files/sandpaper for cleaning up custom parts and weathering paintjobs.
- Dremel or similar rotary tool.
- Safety glasses when using the sanding/cutting tools.
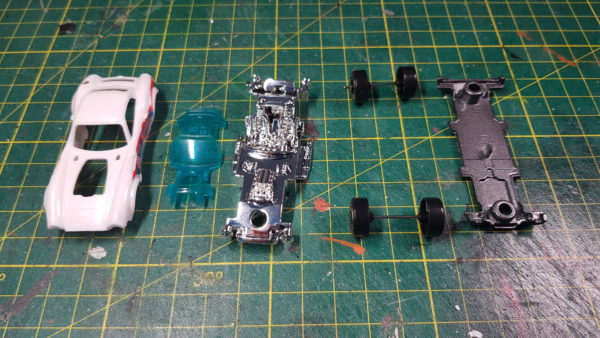
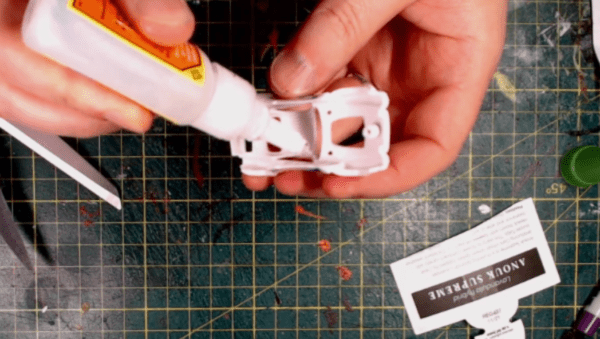
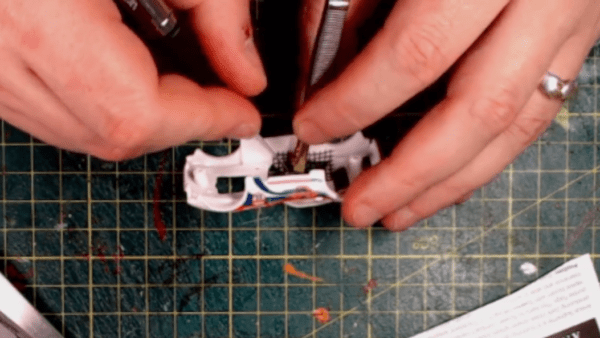
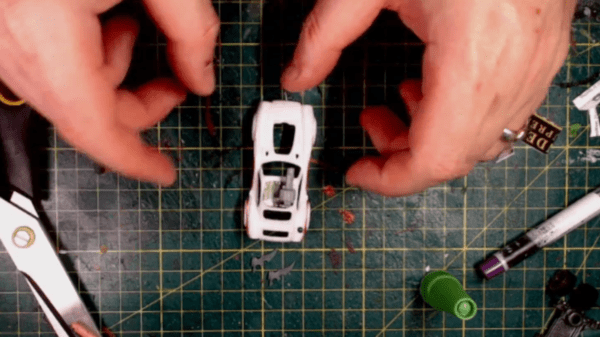
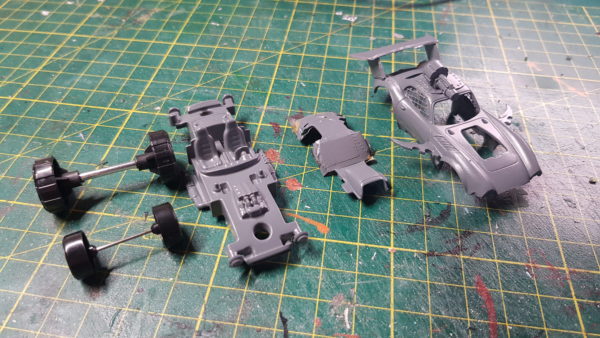
Preparing your Gaslands car.
There are several brands at correct scale for Gaslands, they each come with their own advantages/disadvantages.
Depending on how detailed you want to get , these may or may not be a problem for you. If you just want to do a basic paintjob and glue some weapons and armour to the outside – you won’t need to worry about it!
However if you want to really customise the shape of the car – change into a convertible, lower the roof, cut cars in half and combine with other car parts etc; you’ll need to pull the car apart, which also makes it easier to prime and paint the cars.
Here’s what you’ll encounter with some of the different brands
Hot Wheels and Matchbox
Probably the most well known, alongside matchbox cars, but are harder to customise due to their metal shells and rivets. Rivets will need to be drilled out, and a hacksaw capable of cutting metal, metal cutting disks for your Dremel and similar tools will be needed for changing the shape of the body.

Metal Machines
Metal Machines have plastic shells, and plastic rivets which can be cut out with a box cutter or hobby knife set, or drilled out gently with your dremel. The plastic shells are also much easier to customise and reshape using hobby blades, dremels and files.
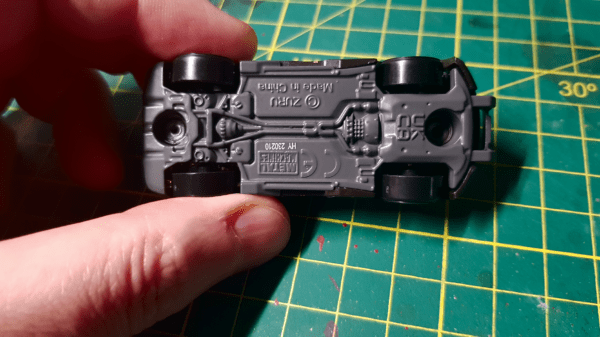
Teamsterz Street Machines
The Teamsterz Street Machines line are probably the easiest to take apart, as they have screws instead of rivets, but they also have metal shells, which requires the more heavy duty tools to customise.
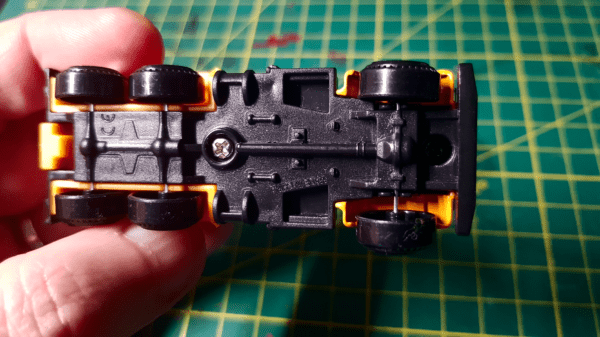
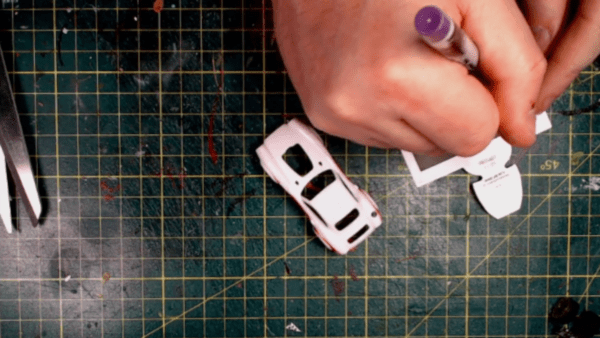
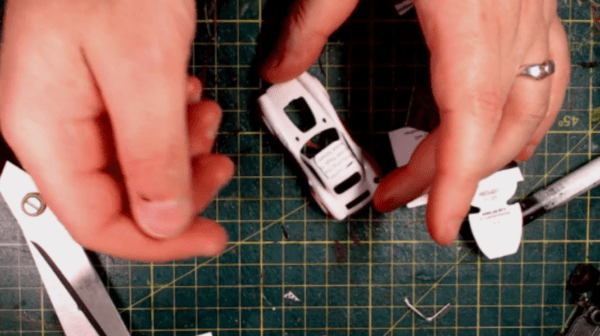
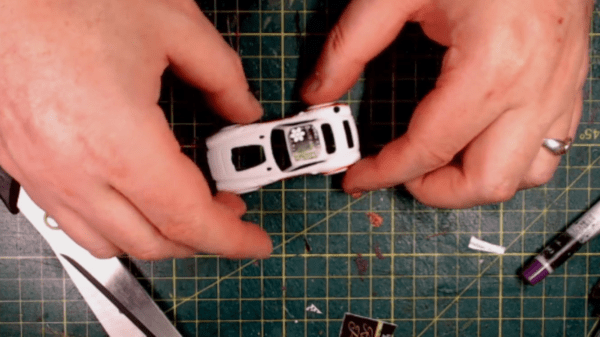
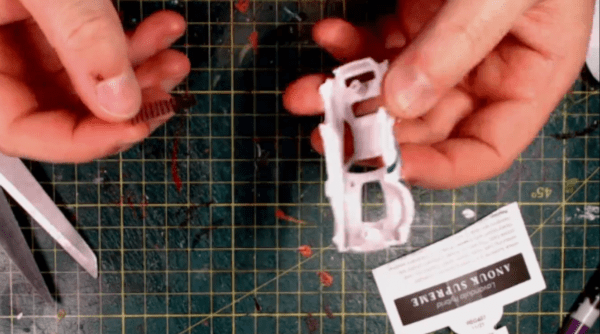
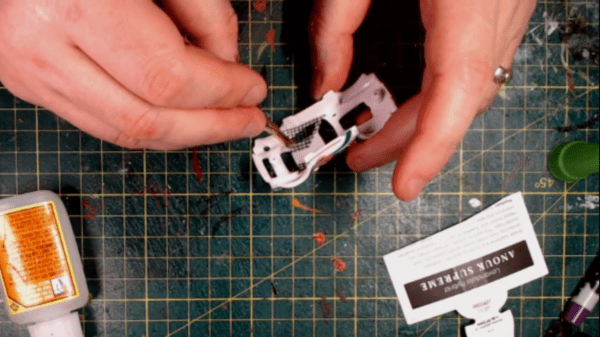
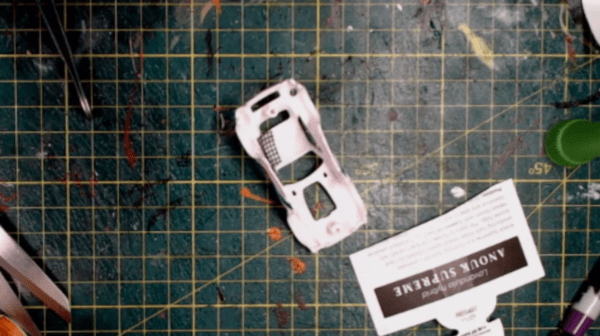
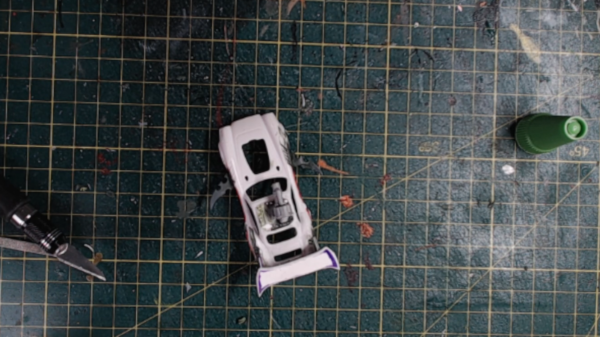
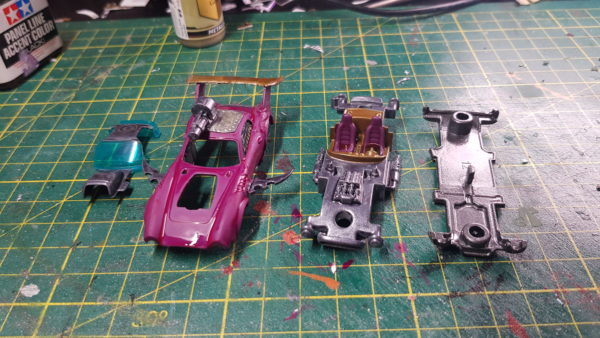
Once you’ve pulled your car apart, you can strip the paint, or just sand it back a bit before repainting, and choose if you want to modify the body at all.
For the cutting and customising the shells of the cars you’ll need tools like Hacksaws and decent files.
Building and attaching parts
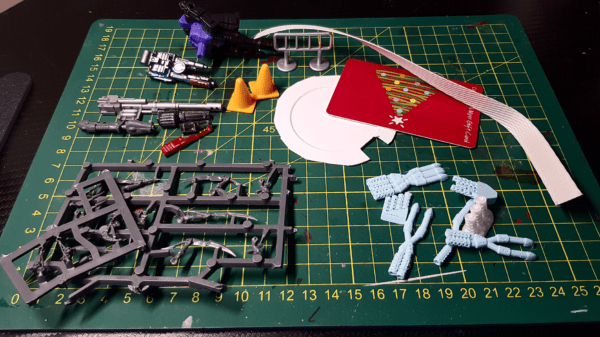
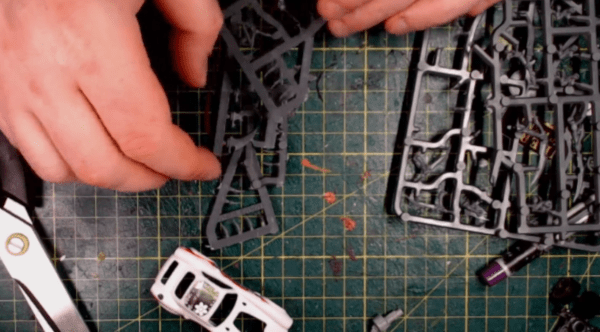
Aside from the official “Implements of Carnage” sprues you can find at game stores and online, scratch building and kitbashing is a really fun way to make whatever you want for your cars.
There’s a few ways you can build parts, but we’re going to start by showing you how to build armour/rams/scoops/spoilers out of Plasticard and modelling sprues.
After that we’ll cover attaching 3D printed/salvaged parts as well.
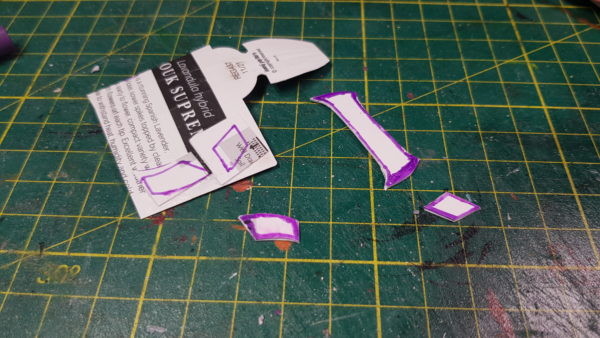
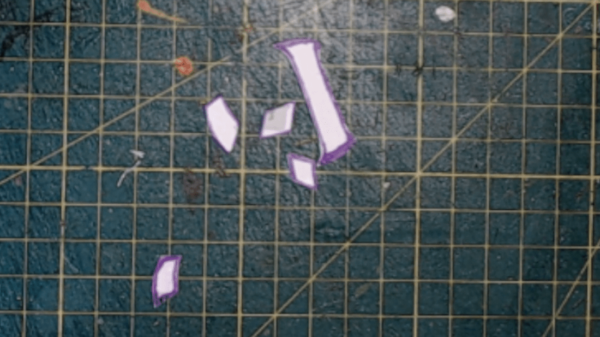
Basic Armour:
You can use Plastic Card to create armour panels that look riveted on with a skewer/round file or similar, and using Liquid Green Stuff or a similar putty you can make them look welded on as well.
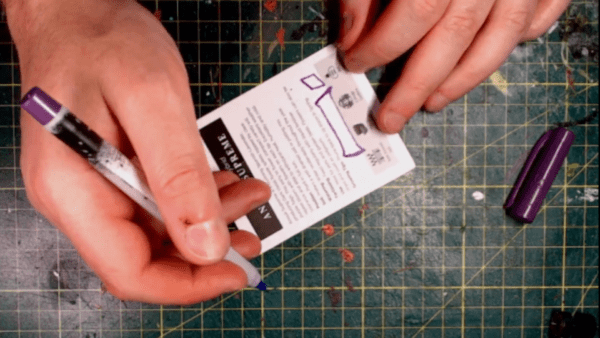
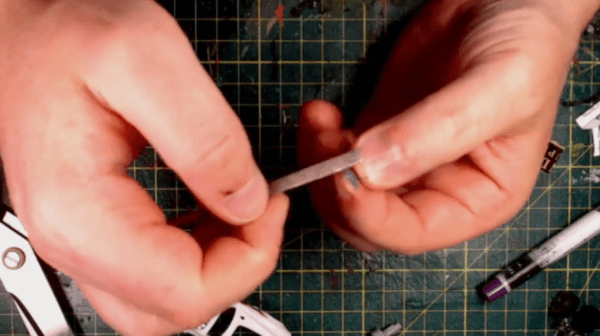
Work out the size and shape of the piece you need (draw it on if you need to) trim the card to shape and then poke it with the skewer (the side you poke from will be the back, so make sure it’s oriented correctly

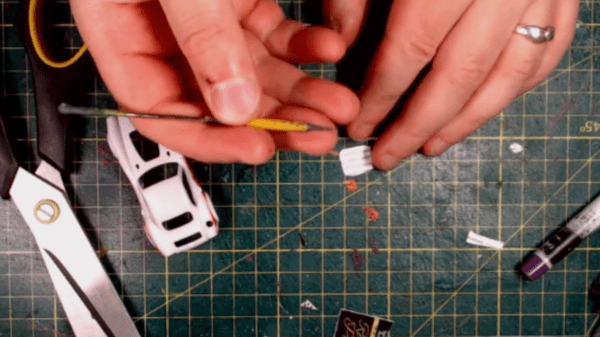
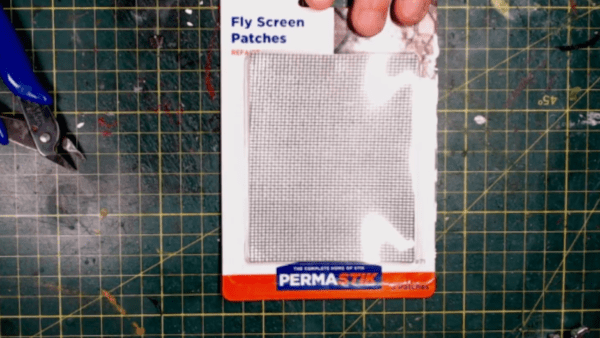
Mesh Armour Windows:
You can create window mesh armour using plastic window screen, aluminium strainer mesh and packing straps.
It’s best to do this when you’ve pulled the car apart, as it’s a lot easier to place and glue it in where you want it.
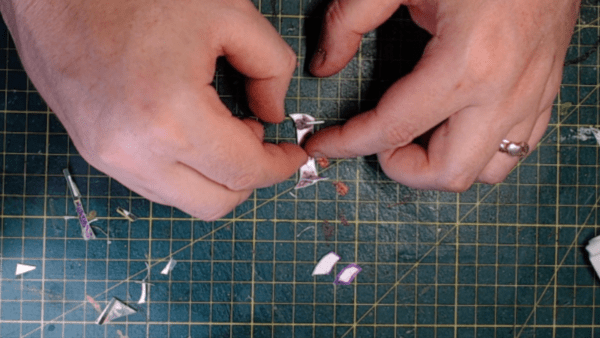
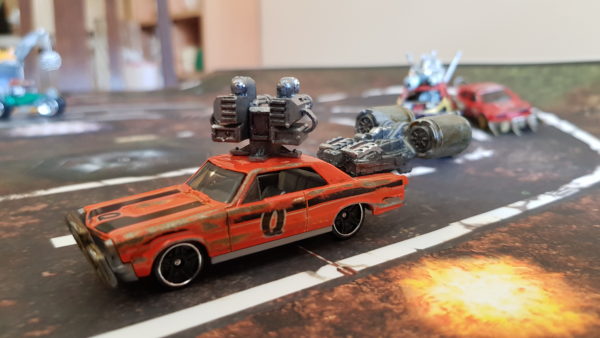
Spoiler/Fins/Rams:
You can use the same kind of plastic card as before, but for these slightly heavier looking items, old loyalty/gift cards and the like will work better.
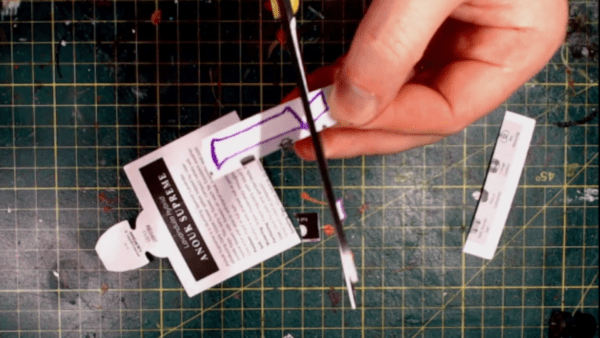
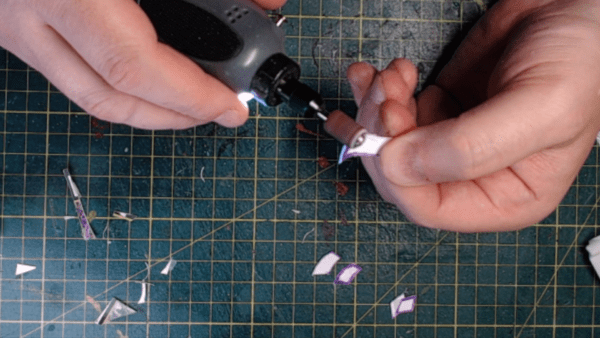
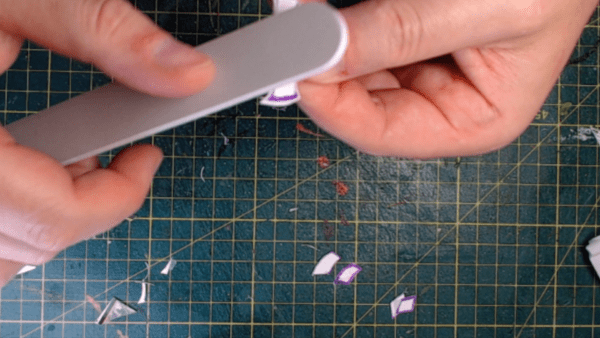
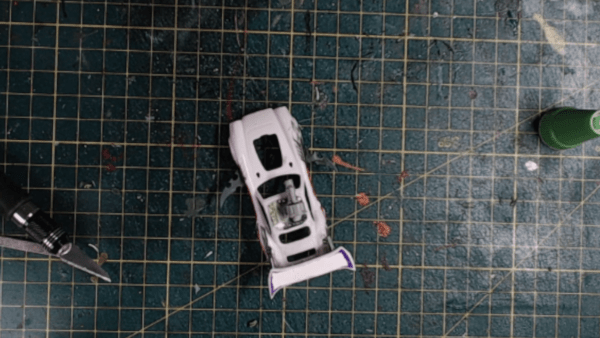
Come up with your design and trace it onto the card, trim the pieces out and glue them together. Once assembled you can file/sand it to blend the edges together if needed, shape it more, or add battle damage before painting.
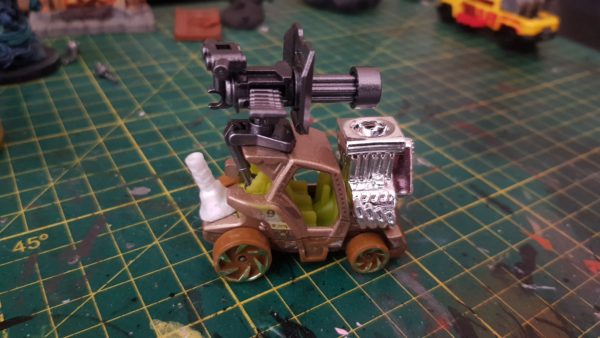
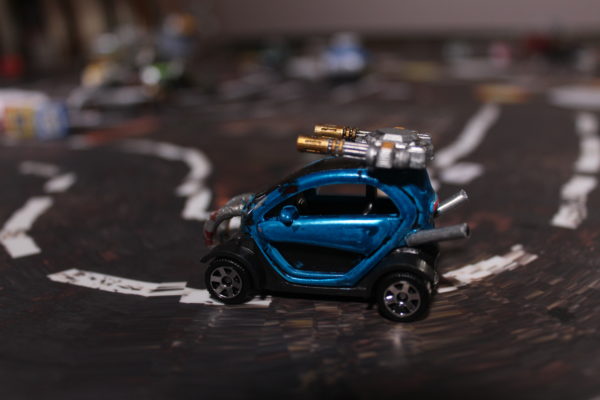
Weapons:
You can use existing salvaged parts (bits from warhammer/dnd minis, toys like transformers etc,) or even converting parts from playsets (toy signposts, fences etc) or build weapons from scratch using modelling supplies, hardware supplies and miscellaneous parts.
You can of course use 3d printed parts, which there are plenty available on sites like Thingiverse MyMinifactory and various Kickstarters!
Once you have your parts you have some choices:
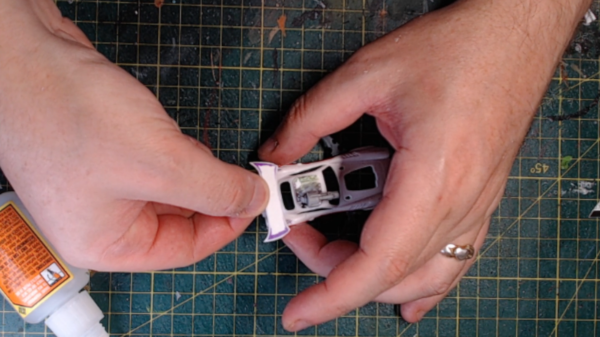
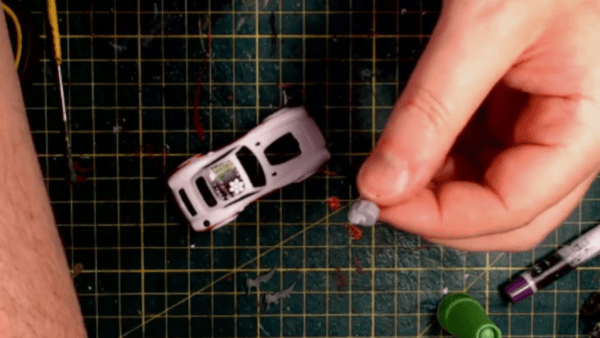
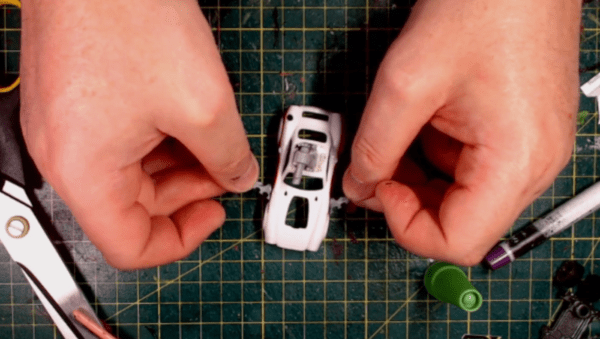
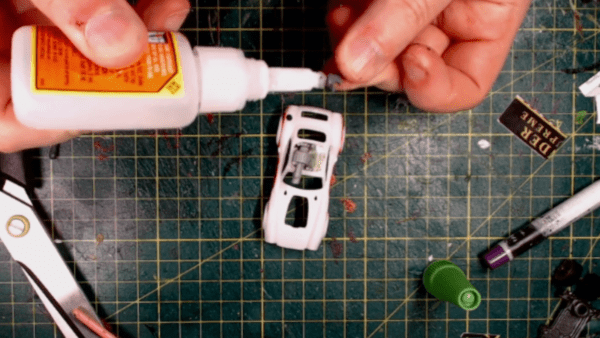
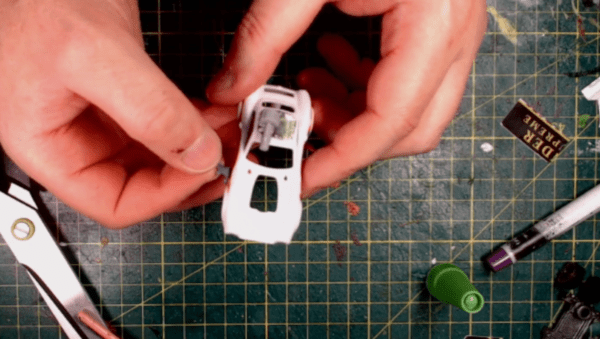
You can assemble everything and then paint it together, or if you have smaller and more intricate pieces you can prime and paint those, and then attach them to your primed(and/or painted) vehicle.
You’ll need to sand/file back your vehicle a little bit in the spot you plan to attach it, which will help the glue adhere properly.
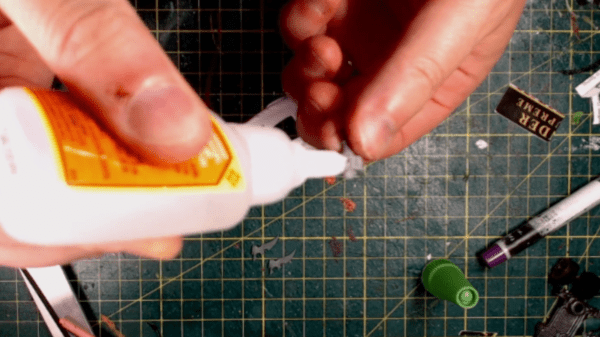
After that apply a small amount of glue (especially if your car is already painted as it can affect the paintjob) and stick your parts on the car.
If you’d like to learn more about building parts, and where to get awesome premade custom parts – go check out Gaslands Norcal (https://www.youtube.com/@cclarke68). They’re super knowledgeable about these things and post some amazing builds. Most of their suppliers are based in the USA – so prepare for shipping costs if you’re in Aus.
Painting
When it comes to painting your cars, there’s a couple of options!
1. You can choose to keep the original paintjob pristine, and just glue on your weapons and armour.
2. Keep the original paintjob, and use files/dremel etc to add weathering and damage. Afterwards, touch it up with things like panel lining, weathering powders and washes.
3. Repaint the entire car – this will mean taking the optional step of stripping all of the paint off the car.
Then (regardless of stripping) priming the car with a spray primer, and using brush paints, spray paints and files/sanding to add weathering/damage.
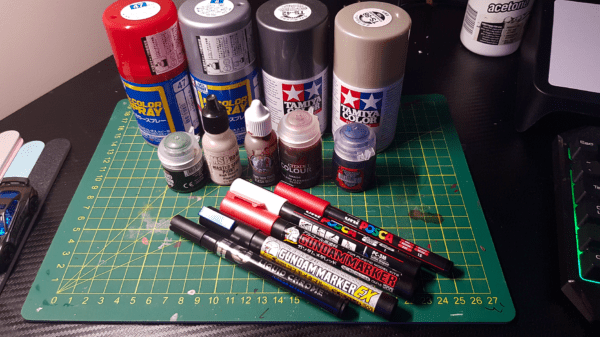
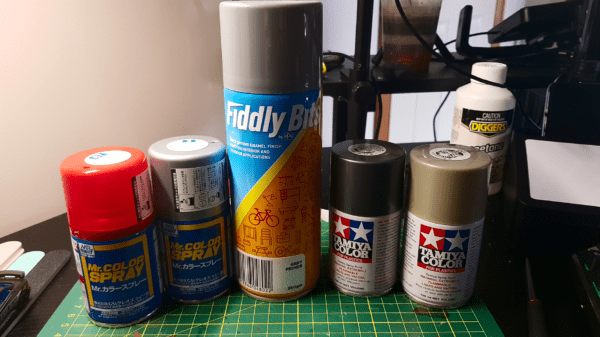
Spray Painting:
I like to use Fiddly Bits Grey primer, and Mr Hobby and Tamiya Colour spray paints when spraying cars.
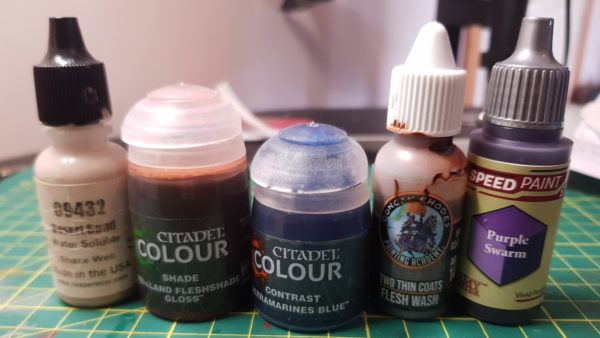
Brush Painting:
I’m also a big fan of Reaper Miniatures, Contrast paints and especially Army Painter Speedpaint 2.0 when brush painting.
Weathering:
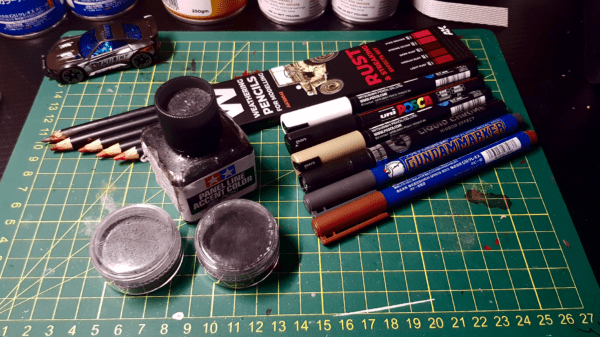
You can do basic weathering with files/sanding etc, but there are also Weathering Powders and Pigments you can use.
I’m using Tamiya Panel Liner, and AK Weathering pencils for this set. You can also make your own weathering powders using Soft Chalk Pastels.
Varnishing:
Using a Matte or Satin Varnish will generally be best for these cars. If you’re after a high-gloss paint job you can gloss the car shell itself before you assemble the rest.
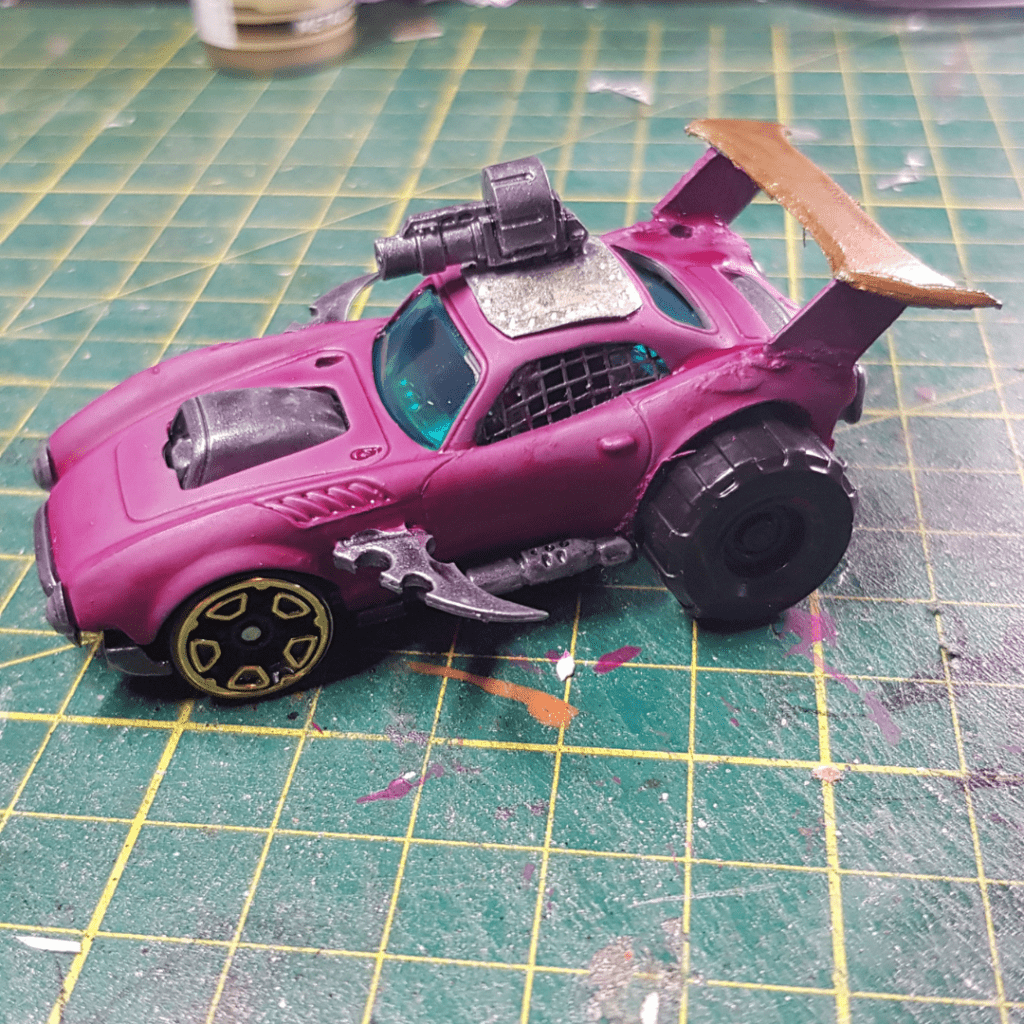
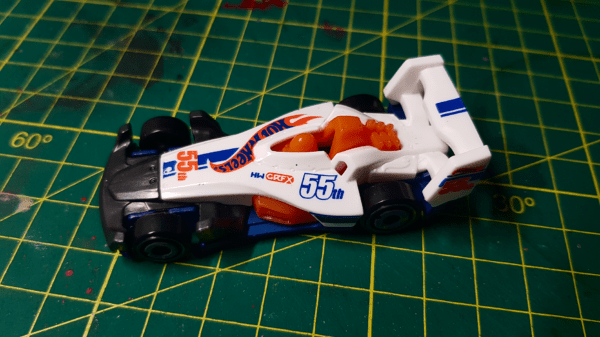
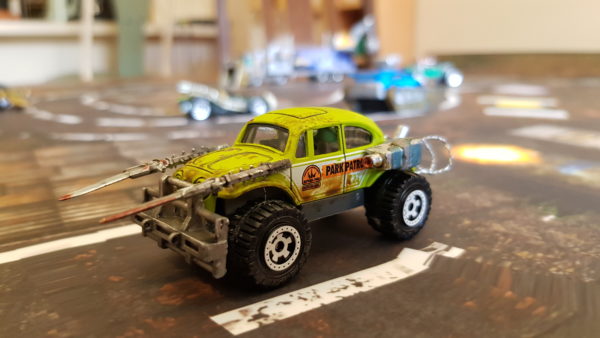
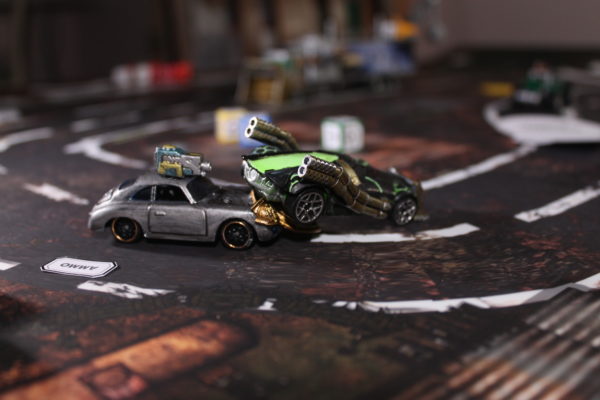
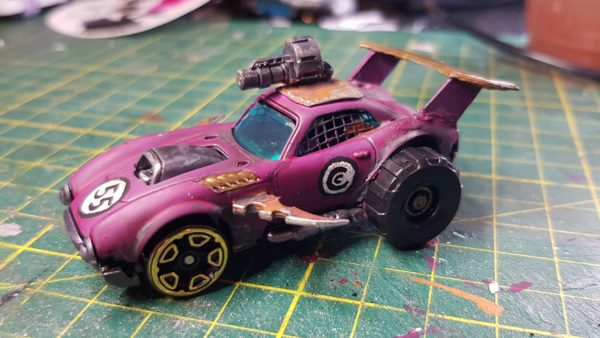
Here’s our finished and fully painted car!
Now you’re ready to play Gaslands!
If our guide here has helped you out – we’d love to see your creations. Feel free to tag us on social media if you post photos, or post in the #show-off channel in our Discord.
If you’d like to learn how to turn your new car into a VTT token for digital play, check out our sister article, How to turn a physical object into a VTT token

Hells yeah! This is an awesome tutorial and I really appreciate the shoutout! Now, let’s create some CARnage!
Christopher
Gaslands NorCal