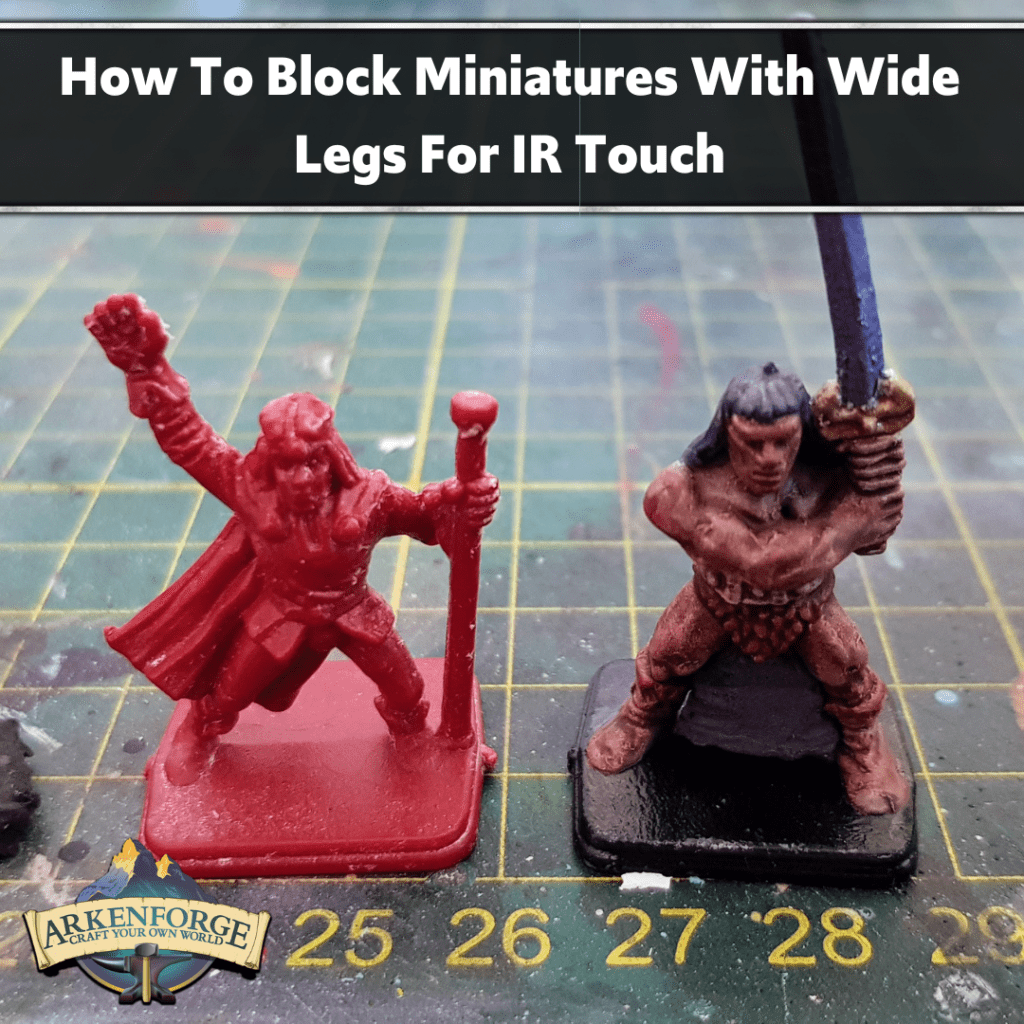
Hello there, Tabletop Gamers! In today’s article we’re going to show you how you can improve mini detection on your IR touch screens by blocking out the legs with Foam Clay.
If you would like to set up your own IR touch screen for your digital table, you can check out our article here: https://arkenforge.com/using-a-touch-screen-with-your-digital-table/
If you prefer to learn via video tutorial, you can watch the video here: https://youtu.be/0hH4coUIUyU
Let’s get started!
Why do we need to improve mini detection?
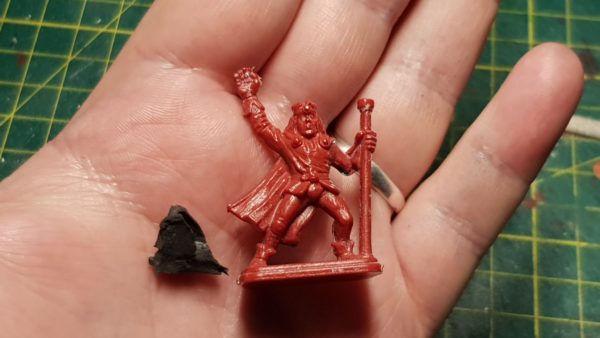
Infrared touch frames have the wonderful bonus of allowing you to use any mini off the shelf without the need for special capacitive bases. Unfortunately, this strength of IR touch frames also leads to one of its drawbacks. When minis have a wide stance, an IR frame may detect each leg as a separate object. This makes one mini appear as two, or potentially more once we get into non-humanoid creatures!
One of the ways you can counter this is to use base risers, such as cork or 3D printed disks, to physically lift the problem area out of the IR Frame’s view. This can add a lot of bulk, and can get expensive/time consuming if you need to make them for multiple minis.
A simple, fast, and affordable way to counter this is to use foam clay to block out the legs in your minis. Plus, you can remove it at will, so you can easily take them out if you aren’t using your touch screen.
Before you get started, I recommend doing this on unpainted miniatures – I haven’t yet tested how the foam clay will affect the paint.
What you’ll need:
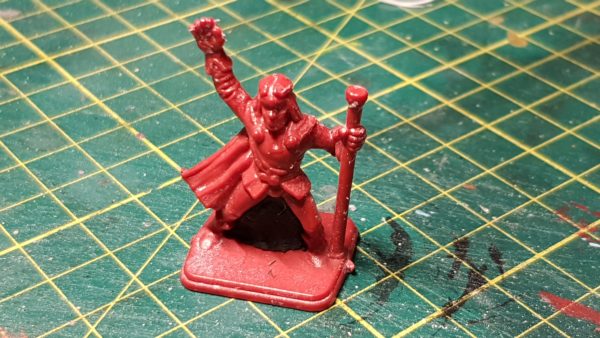
- Your wide-legged miniatures
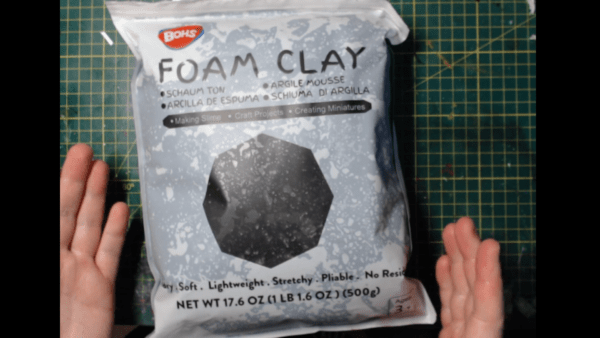
- EVA Foam Clay (see bottom of article for links)
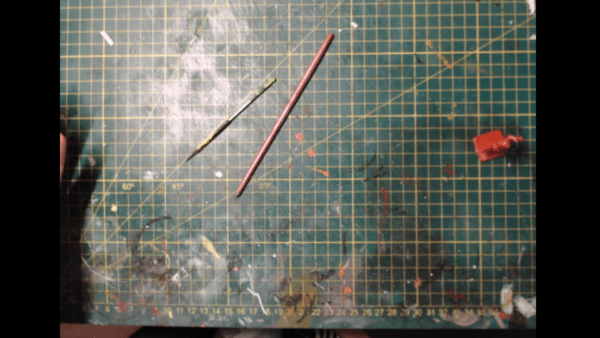
- Some tools for shaping the clay.
- In this example I use a paintbrush and a round file.
- You can use clay sculping tools, popsicle sticks and others.
How to improve mini detection
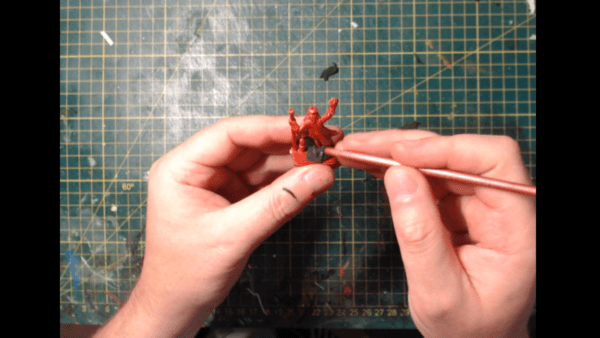
Step 1.
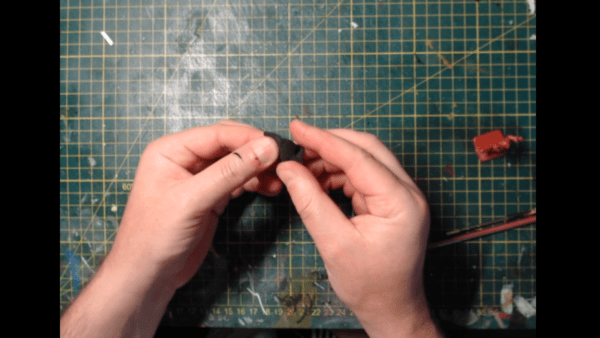
Take a small piece of foam clay and roll it into a manageable shape.
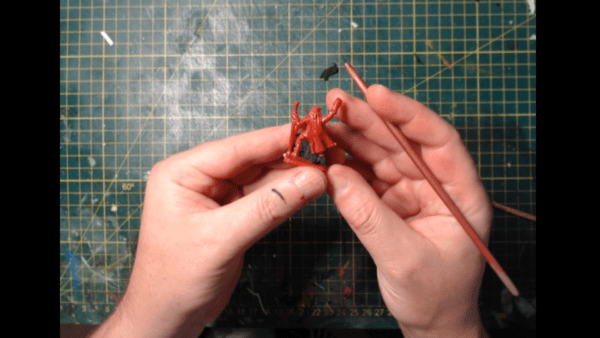
Step 2:
Push the clay into the gaps in your miniature.
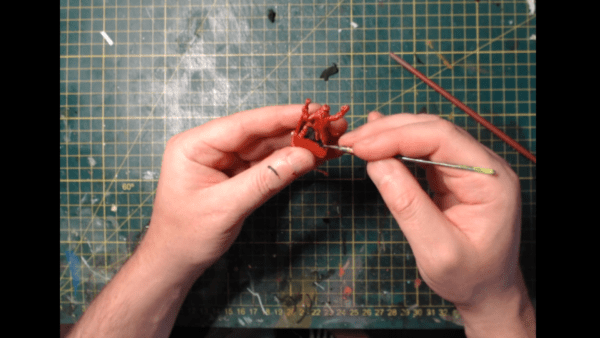
Step 3:
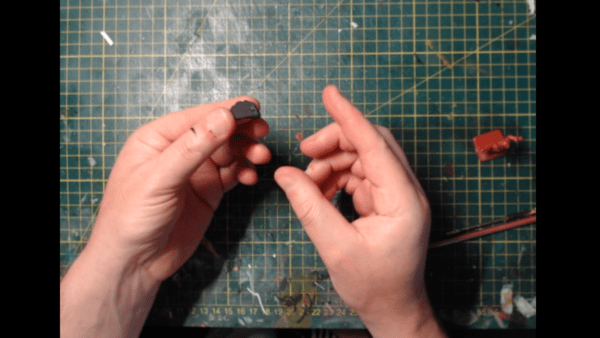
Use your tools to remove excess clay.
Step 4:
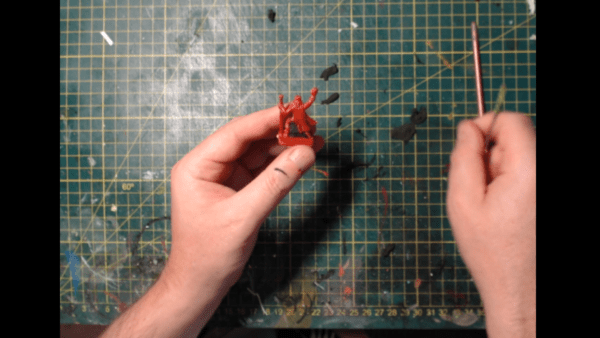
Compact the clay, and clean up the edges away from any areas you don’t want the clay to cover.
Step 5:
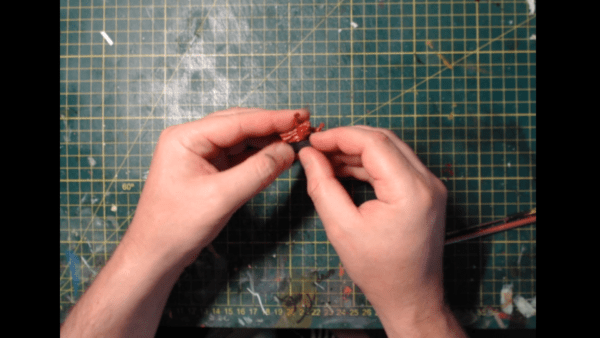
Allow to dry.
Step 6:
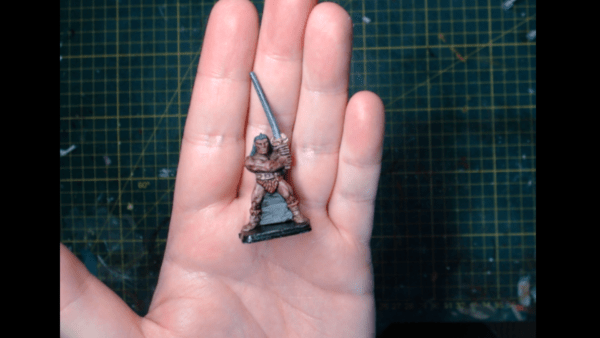
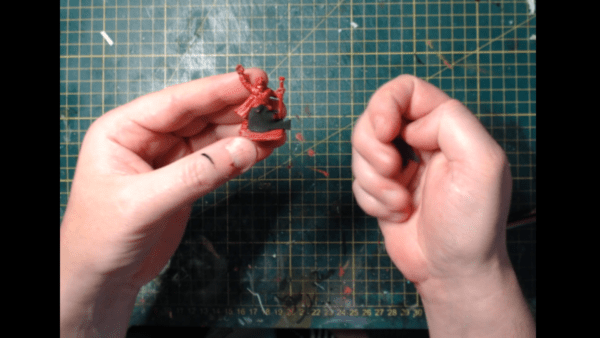
Remove the dried plug and paint your mini, then replace!
Where to get Foam Clay:
Australia:
https://www.luminsworkshop.com/ – Victoria based costuming supply store
https://www.amazon.com.au/BOHS-Primary-Ultra-Light-Modeling-Project/dp/B07MK2K9KZ
Outside Australia:
https://www.amazon.com/Foam-Clay-Air-Dry-Modeling/dp/B082DM2H2Q (We haven’t tried this brand)
https://www.amazon.com/BOHS-Primary-Ultra-Light-Modeling-Project/dp/B07MK2K9KZ (This is the brand used in the video)